Sugar cookies are the blank canvas of the cookie world. You can decorate them any way you want. Dipped, painted, royal icing, buttercream, sprinkles- the possibilities are endless! But that you means you have to have a sturdy canvas, AND a tasty one!
Here’s my go-to recipes for decorated cutout sugar cookies that’ll give you a buttery cookie with a perfect bite, that’s smooth and sturdy. You can skip to the recipe, but I’ve added a few tips and tricks here that might be helpful along the way.
Decorated sugar cookies always seem to take longer to make than intended. Maybe I’m a bit of a perfectionist, or maybe I am just slower than I think. One of the great things about this recipe is that you can make the dough and freeze it for up to 3 months!
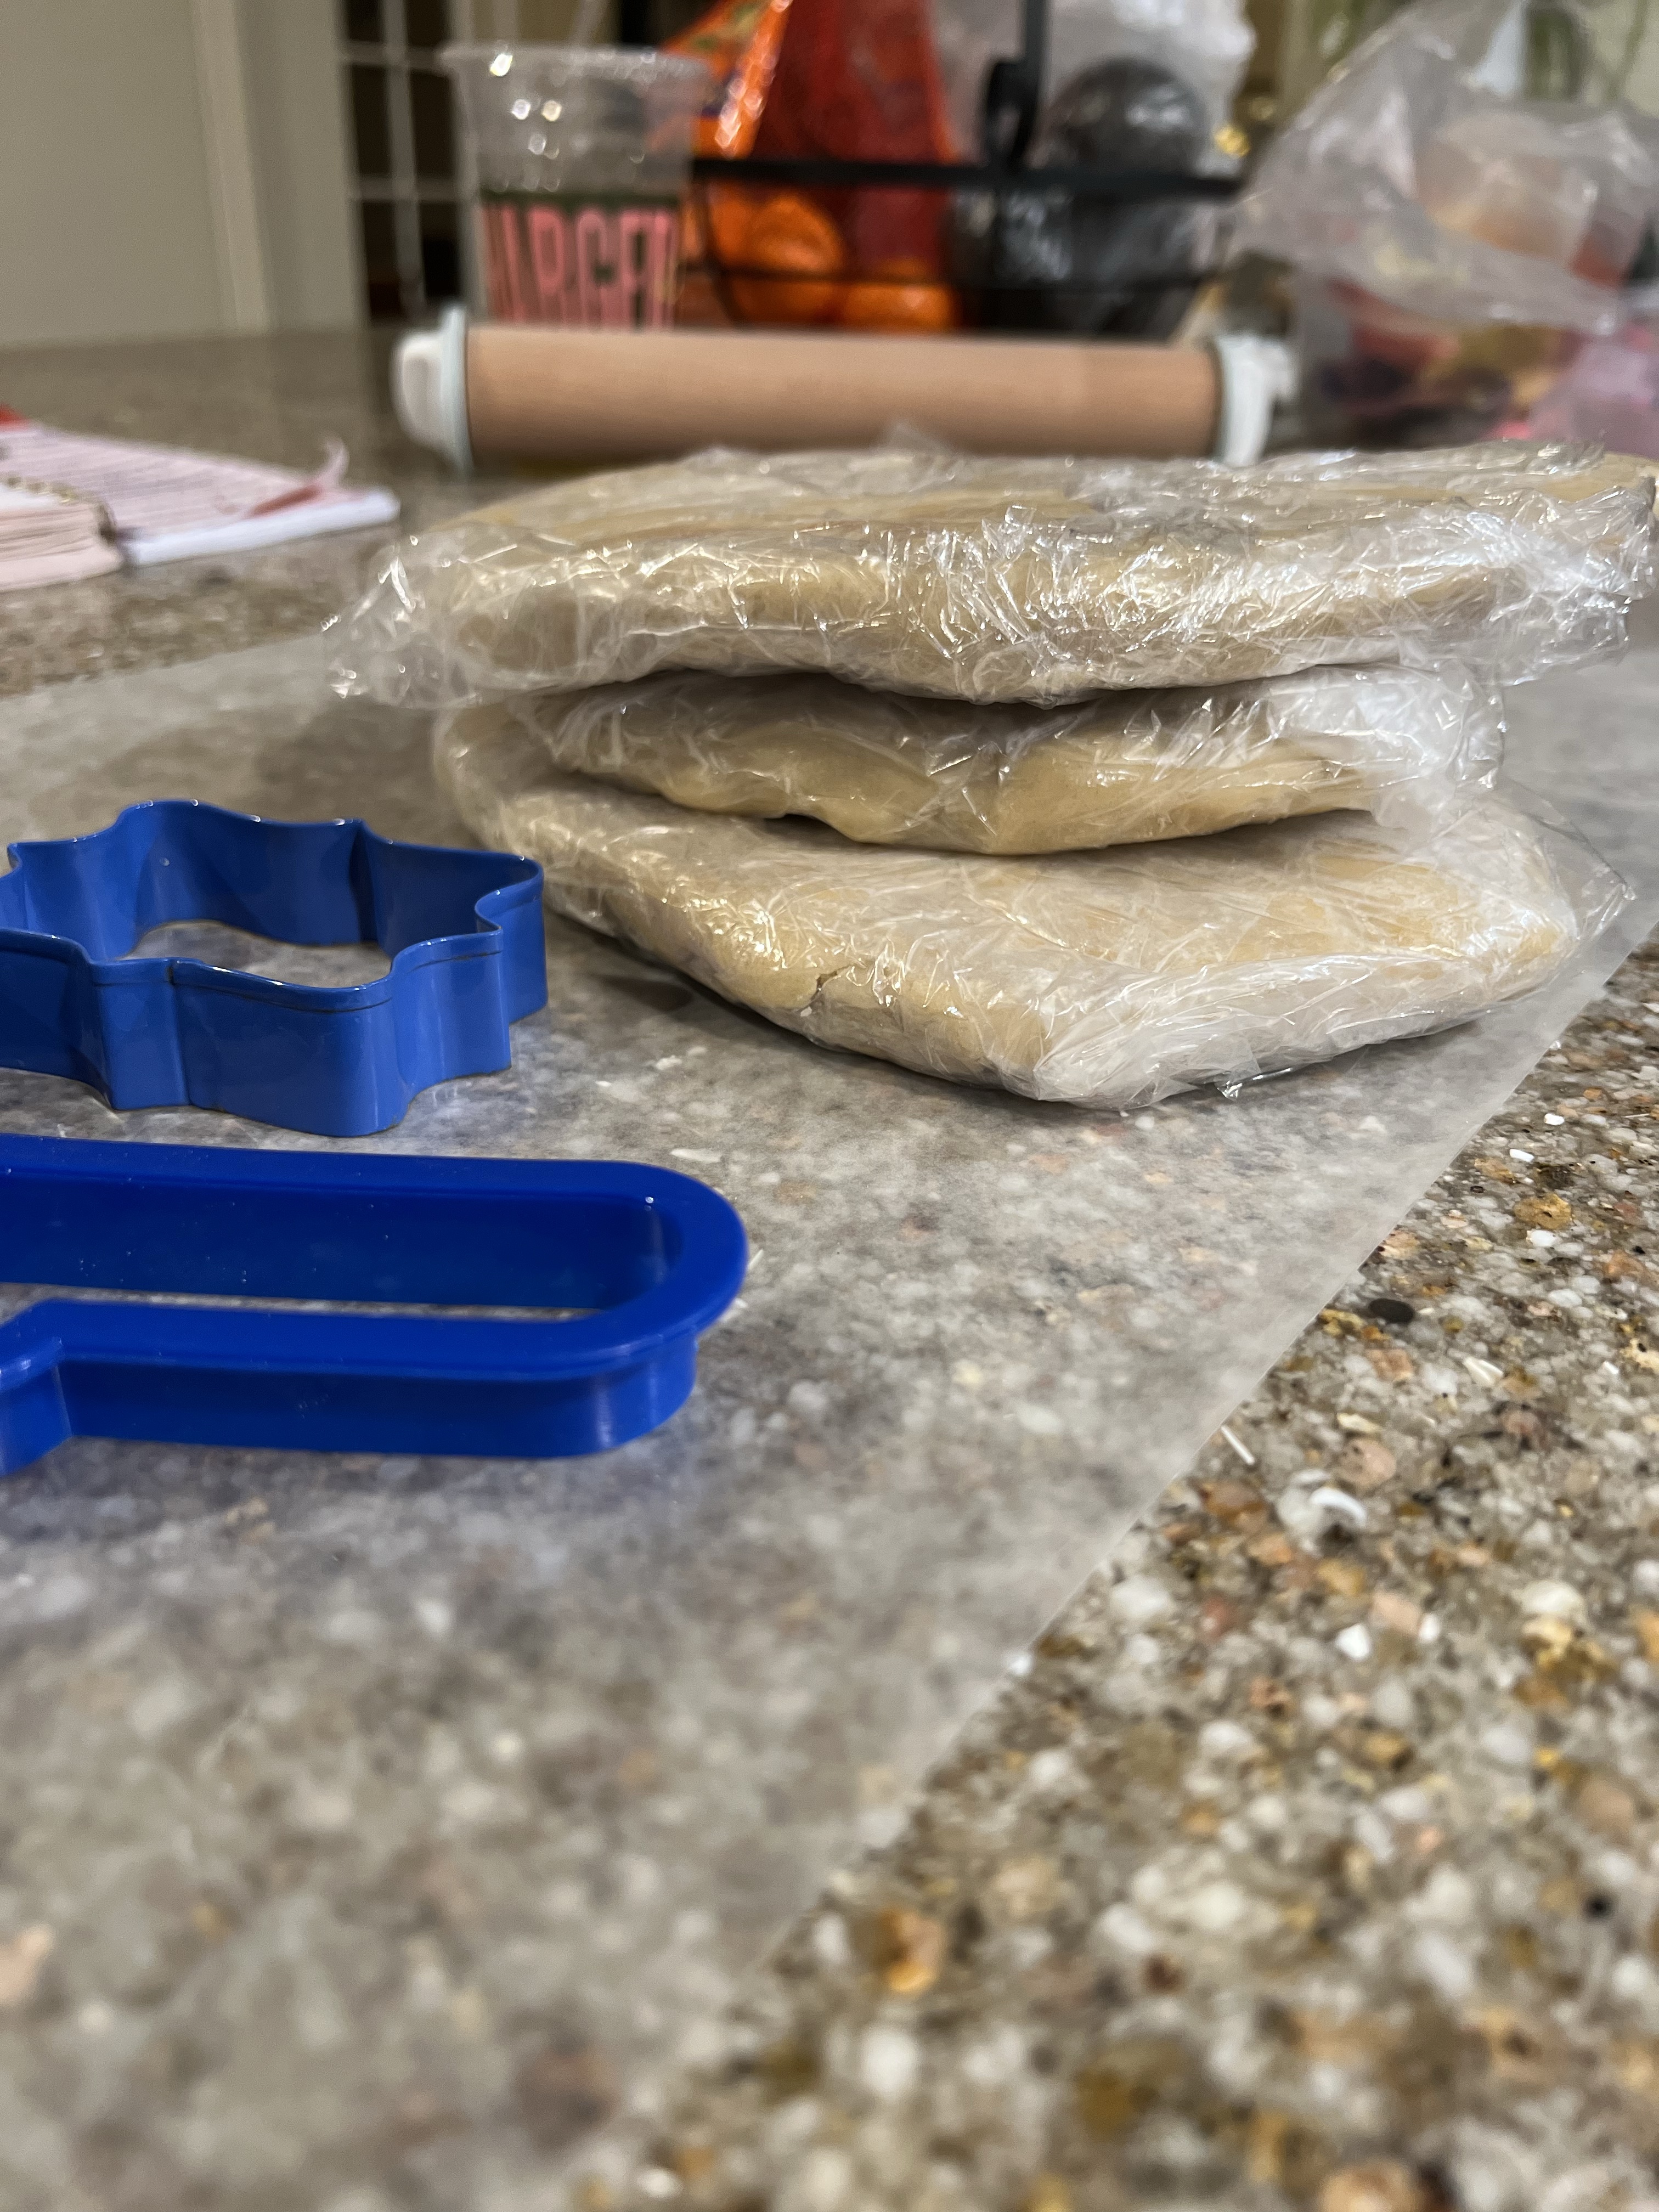
To freeze, make the dough as directed. I find it helpful, whether you’ll be using it right away or saving it for late, to flatten the dough out into sheets instead of trying to freeze it in a ball. Simply lay your sheet of plastic wrap out on the countertop, plop down a portion of the dough, smoosh down with your fingers til it’s mostly flat, maybe a half inch thick or so. Place wrapped dough in a freezer safe sealable bag. This makes it much easier to start rolling out right out of the fridge, or thawing on the counter from frozen.
Baked cookies can also be frozen. Place cookies in a freezer safe bag and vacuum all the air out of it as best you can. (If you’re just doing this at home you can seal the majority of the bag, pinch a little opening and then suck all the air out, then seal it up real quick!) Thaw them on the counter top, and not in the fridge. The moisture in the fridge will make them kinda soggy.
When rolling out my cookies, I used to use flour right on the counter top. That was until one of my friends asked if they were shortbread cookies and not sugar. Not that hurt my feelings because I love my sweets. That’s when I realized that my dough was too warm when I was rolling it out, and adding more and more flour to keep it from sticking was making my sugar cookies not sweet! Unacceptable!
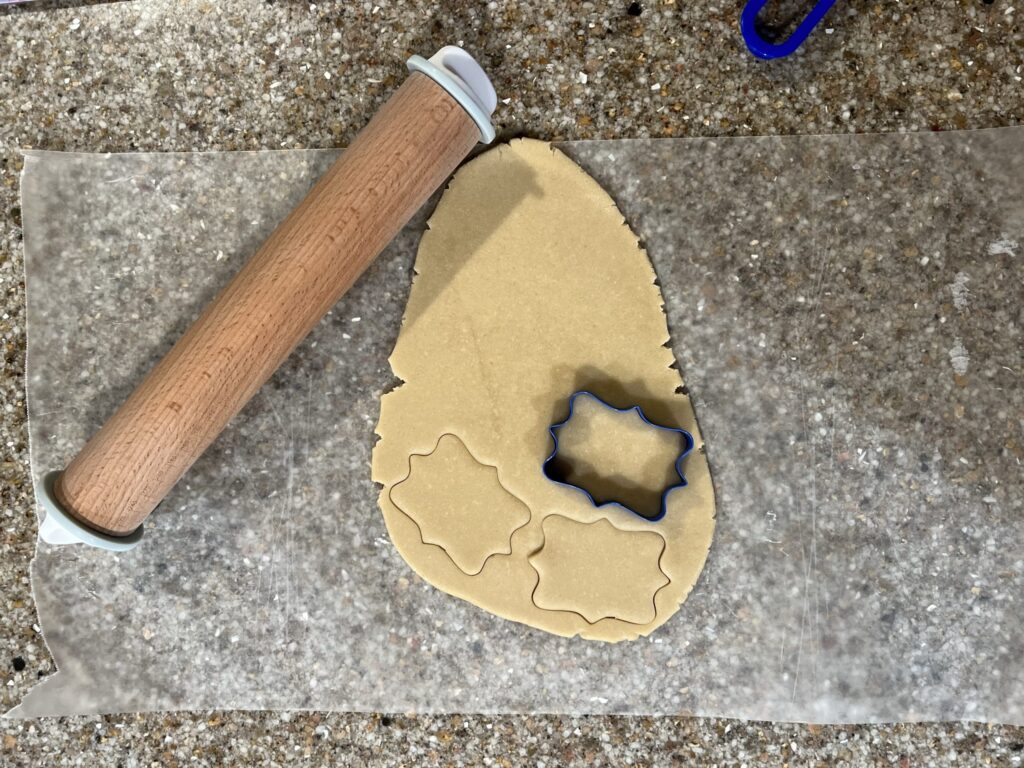
If you want your sugar cookies to stay sweet and not stick to your countertop, I have two tips- 1)Place a strip of wax paper down first. That will keep your cookies from sticking and will help pick up more intricate shapes to transfer to the baking sheet. 2) Keep your dough cool. After you cut out your shapes, you can roll the scraps back into a bowl and roll then out again. If your dough is too warm, pop it back in the fridge to chill for another 20-30 minutes so your cookies keep their shape.
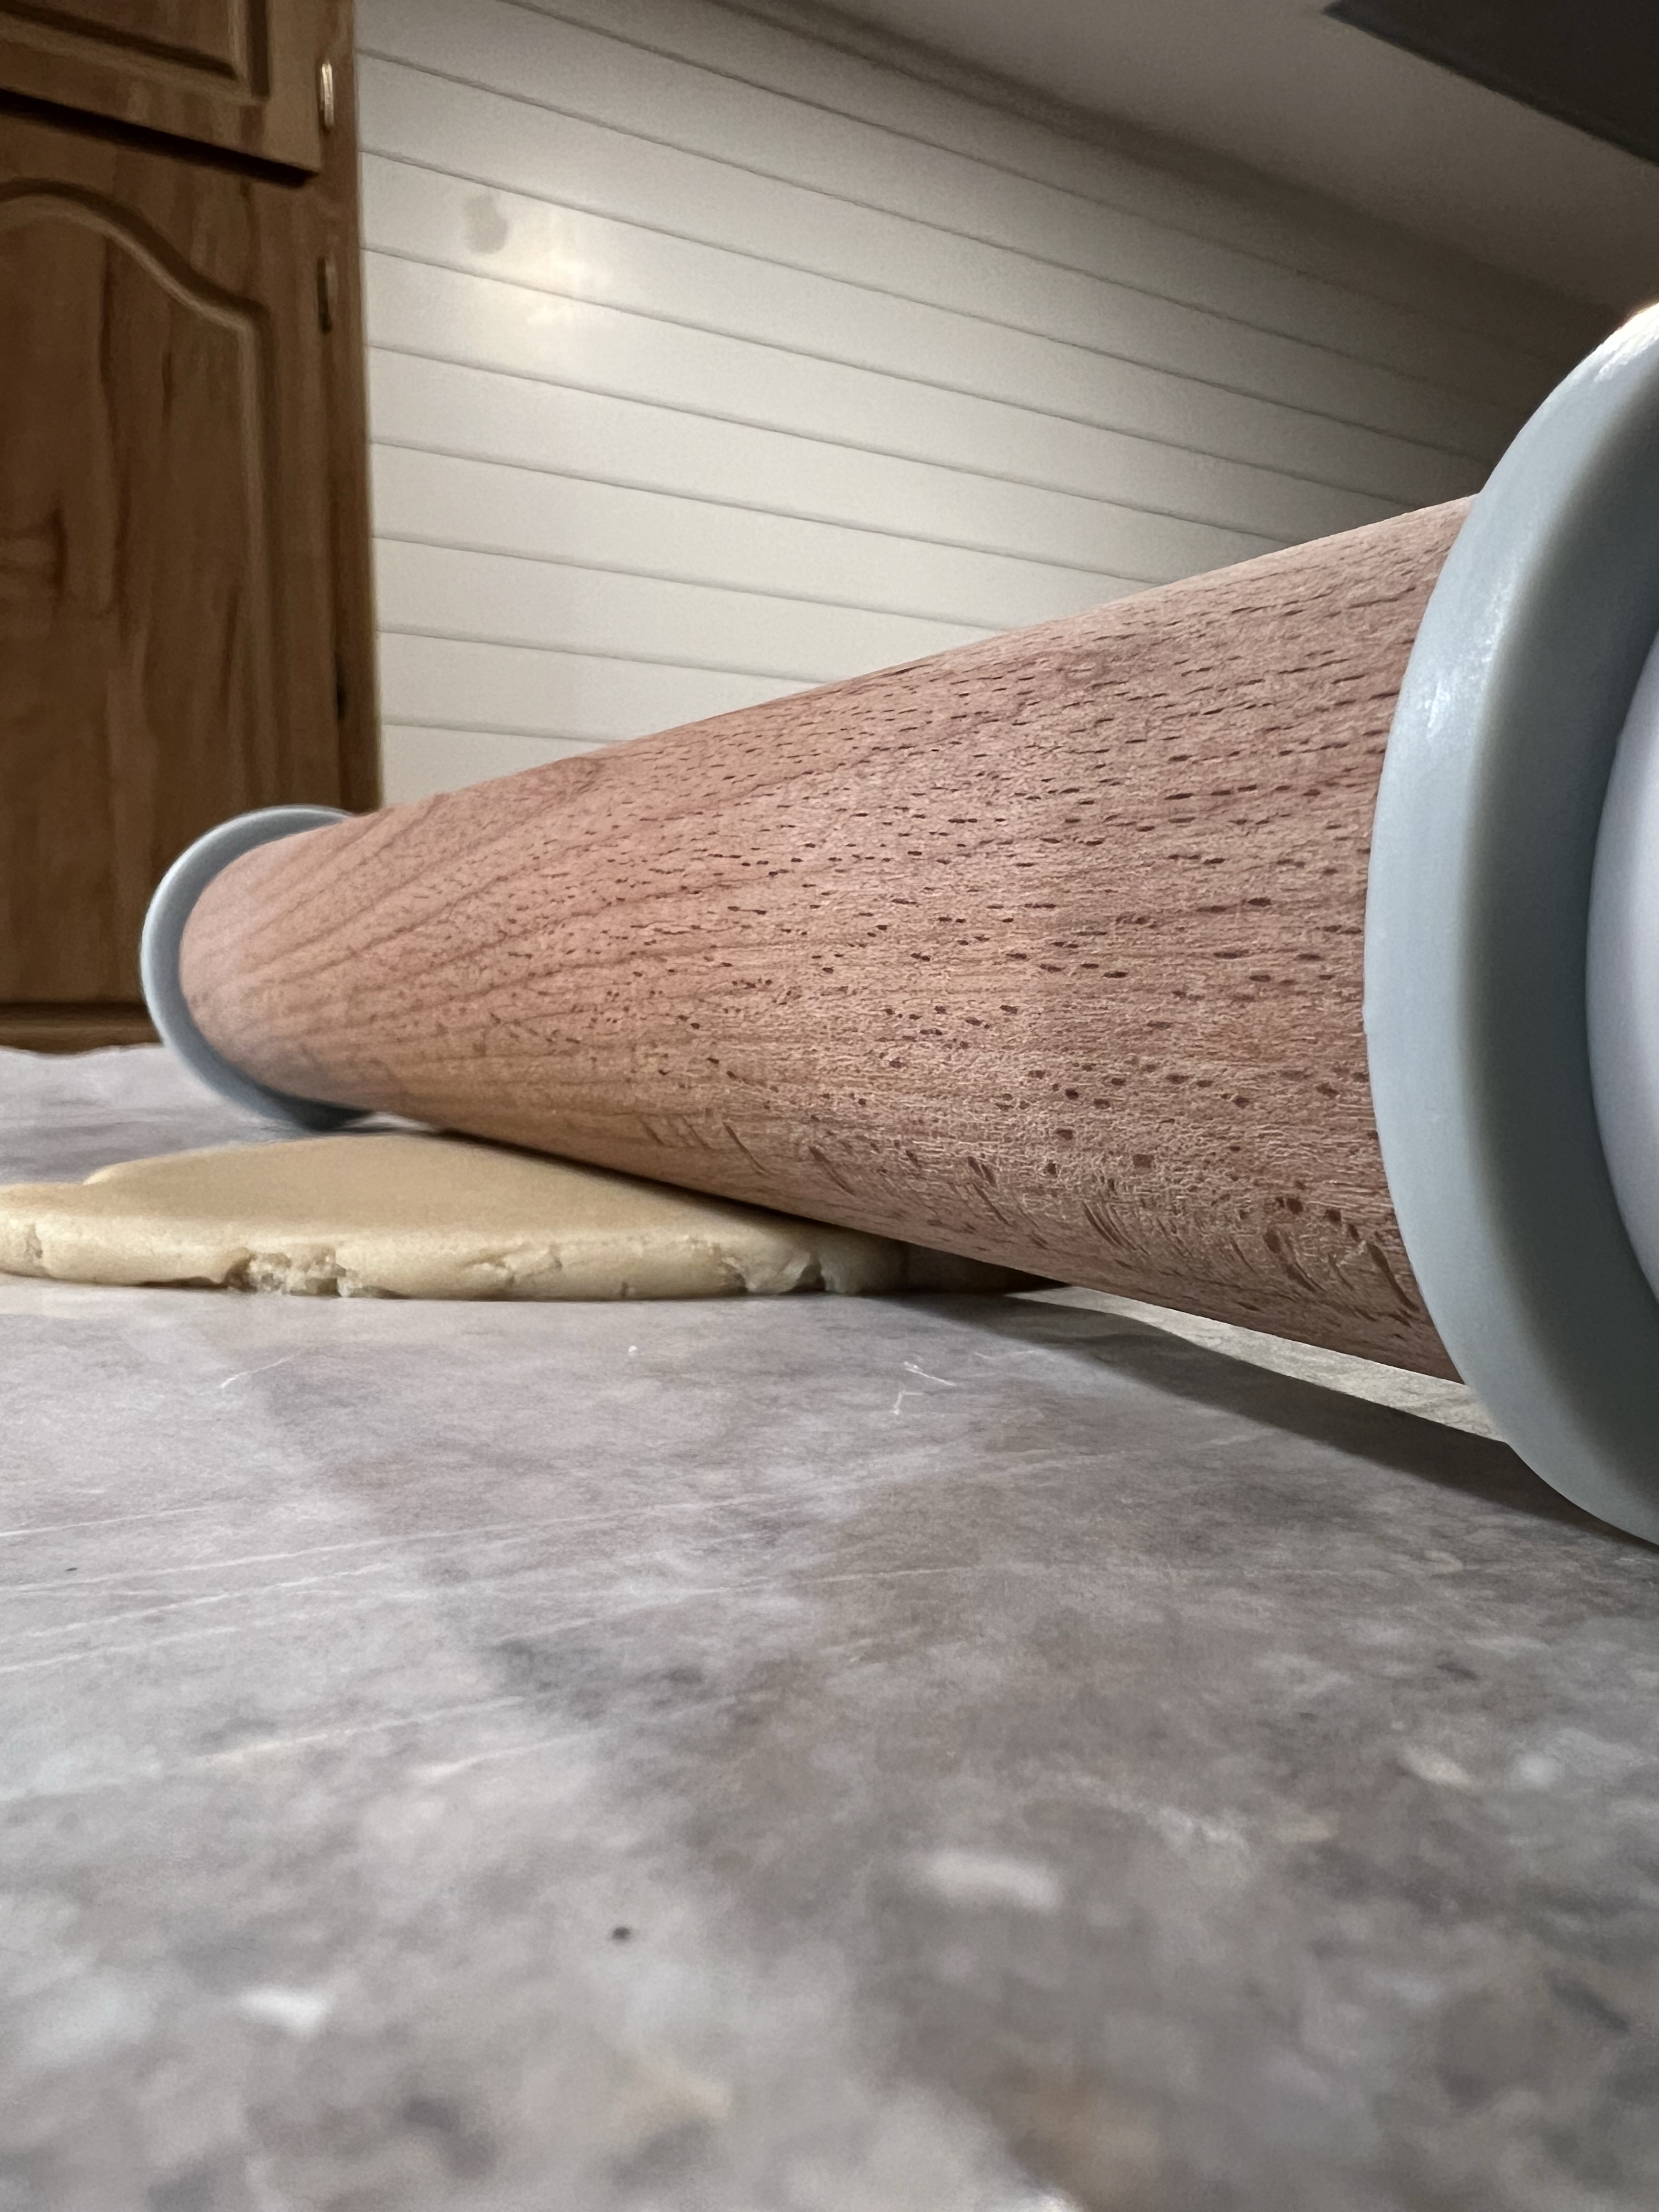
My latest favorite cookies hack is this measured rolling pin that I got from Joann’s. It’s got the measurements on little wheels on the side so your cookies will be perfectly even every time.
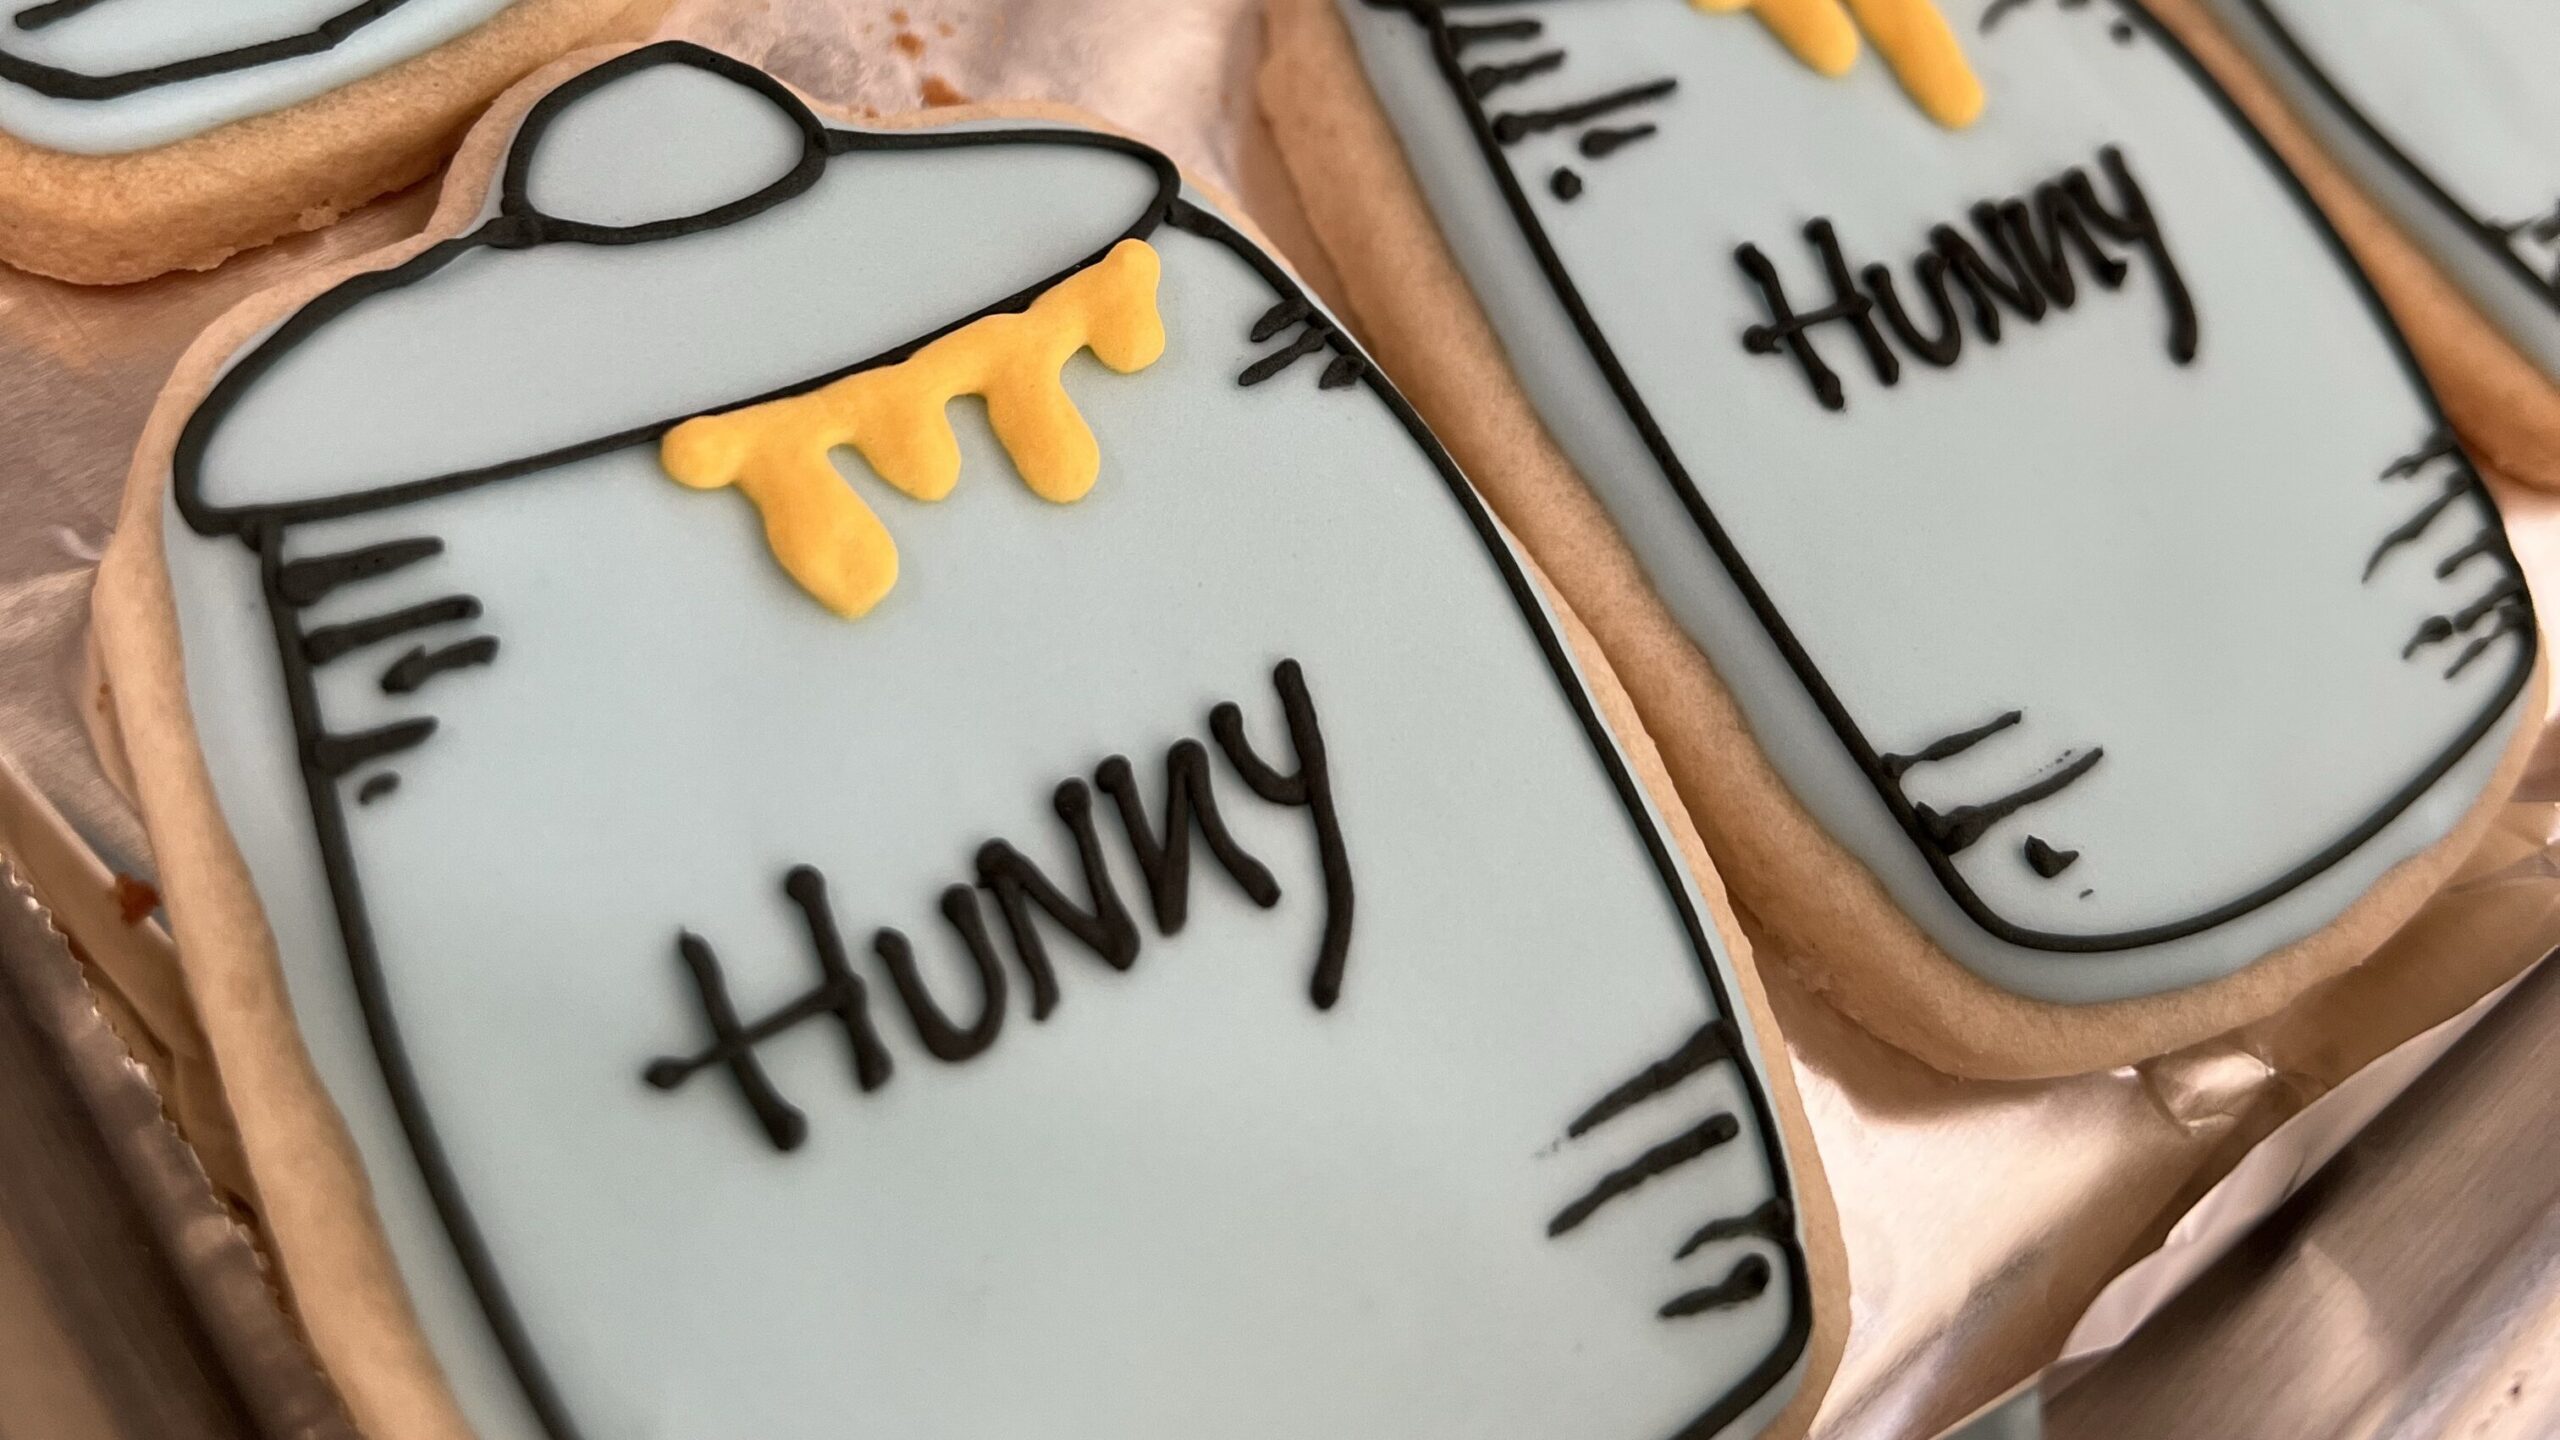
Decorating the cookies is my favorite part. Royal Icing is great because you can let it dry and bag the cookies up for favors or save them for later. But buttercream frosting is great if you’re going to dig in right away while the cookies are soft and fresh.
Sugar Cookie Cutouts
Ingredients
- 2/3 cup butter, softened
- 3/4 cup granulated sugar
- 1 tsp baking powder
- 1/4 tsp salt
- 1 egg
- 1 Tbs milk
- 1 tsp vanilla
- 2 1/4 cup all purpose flour
Directions
- Beat butter on medium/high for 30 seconds (til creamy)
- Add sugar, baking powder, and salt
- Add egg, milk, and vanilla
- Beat or hand mix flour, one cup at a time
- Divide dough in half. Cover and chill for at least 30 minutes
- Preheat oven to 375* F
- Roll dough on floured surface to 1/8 or 1/4 of an inch. Cut shapes and place 1″ apart on ungreased cookie sheet.
- Bake 8-11 minutes or until the edges are firm and bottoms start to turn light brown.
- Let cool on pan for a couple minutes before transferring to a wire rack to finish cooling.
- Once cooled, decorate as desired.